An online interactive about sexual abuse
The challenges of creating a compelling and performant web experience with and for young victims


Besides many beautiful things, the web also has a dark side. Every year, more than 100,000 Dutch children and young people are victims of online sexual abuse. Varieties and numbers are growing, and the threshold to ask for help is high. Victims struggle with guilt and shame and often don't dare to say anything.
To help youngsters understand and/or process online sexually transgressive behavior, our tech for good venture Hack The Planet joined forces with Fonds Slachtofferhulp (Victim Support Fund) and design agency Morrow. Together we wanted to create awareness, destigmatize the subject and lower the threshold to help in a way that fully reflects the experience of the Gen-Z generation. Thanks to intensive involvement of the target group, we came up with the idea to focus on the raw stories of the victims themselves.
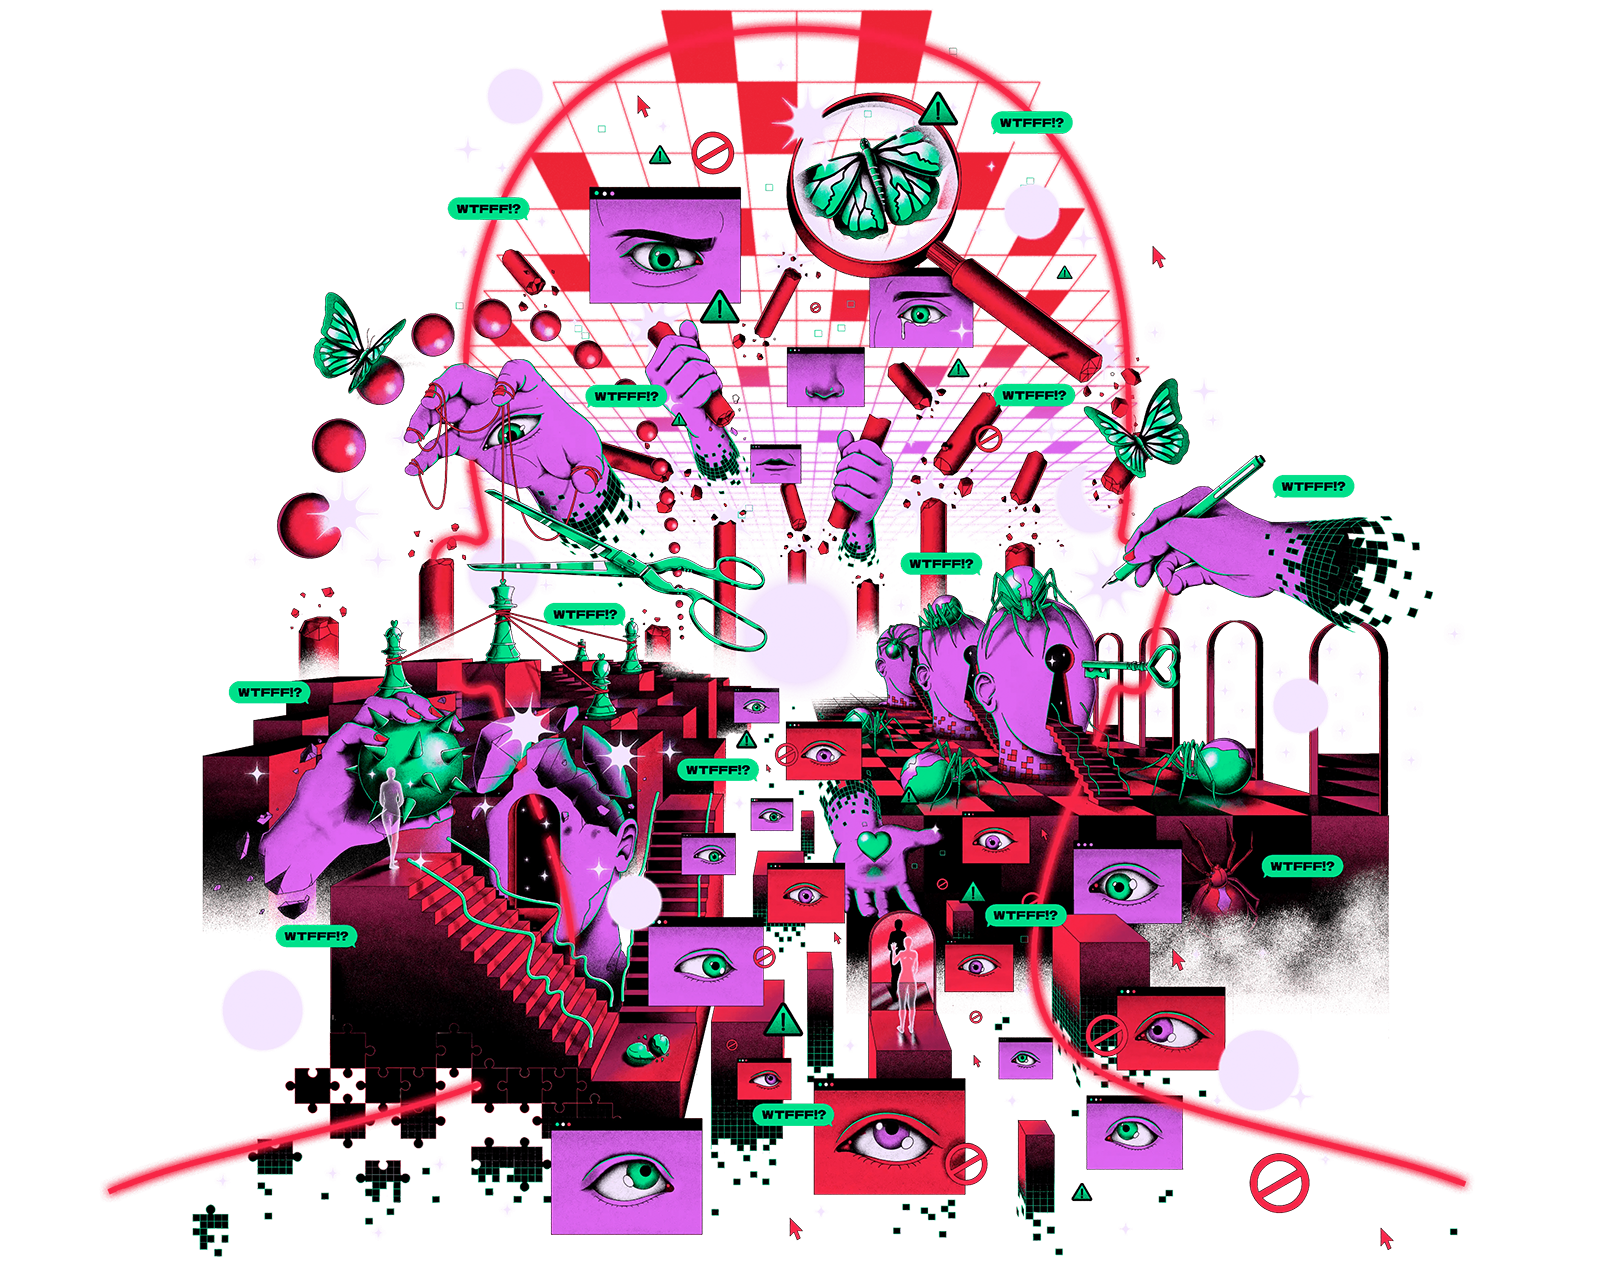
So, we created an interactive illustration in which visitors experience poignant events in the lives of young people: wtfff.nl. To give users the feeling of really diving into the illustration, we have devised a kind of camera that automatically zooms in on specific parts of the illustration.
In this blog post, we will tell how we tried to push the boundaries of the web, while still maintaining the performance of the overall experience.
Our first approach
When we first laid eyes on the beautiful artwork that was created for this website, we knew it would be a technical challenge to do it justice. The artwork consists of five parts. Each part belongs to a story of one of the victims. The motion designer at Morrow would take the artwork and animate it frame by frame to enhance each story. Our job was to deliver these stories with the animated frames as crisp as we possibly could, while maintaining performance and keeping file sizes as small as possible.
We didn’t want the user to just look at the artwork, click on a certain story and then listen. We wanted the user to dive into the artwork and discover the five stories themselves. Therefore we needed to create a camera on a canvas system. Canvas2D was the perfect fit for that. Our goal was to make controls easy and understandable on both phones and PC’s. That’s why we came up with the camera that automatically zooms on specific parts of the canvas. This way the interaction with the camera system allows for panning and zooming with one finger, without pinching or scrolling for zooming. More on this later in the article.
The ‘camera’ requirements were not the only reason we decided to use Canvas2D. We also set a stretch goal to create the illusion of depth by levering something of a parallax effect. The position of the object on the image in combination with a virtual distance to the camera allows us to calculate an offset for each object. This offset creates the illusion of depth by moving objects slower when they are further away.
To help us with keeping state and tying everything together we decided to use Svelte. This quickly turned out to be a match made in heaven. Svelte’s context API is easy to understand and implement, but also great to use within plain Typescript and within Svelte templates. We developed a small helper function that allows us to render components on the Canvas naturally. This helper also exposes all data one might want while rendering a component, for example the current camera position, zoom level, time, canvas size and most importantly the context of the canvas. These are all passed as a parameter for the current frame.
This helped us greatly in keeping all state in sync across the entire app and also made creating new Svelte components that are being rendered on the canvas really easy.
With our custom framework ready to go, it was time to recreate the artwork on the canvas. With transparency, in order to create depth, and animations as requirements, we set on using PNG sequences. We merged these sequences, or frames, into a single image file, known as a sprite. The time and framerate decides which frame needs to be cropped from the image and used at this moment. Do this many times a second and you have a basic animation, just like a flipbook animation.
We tried optimizing these sequences as much as we could. Since the original artwork only uses several colors, the first thing we did was indexing these colors. This makes sure that we don’t include a lot of data we don’t actually need. This hardly has any impact on the image quality, but saves us about 20% on data. Furthermore we tried to only include frames we actually need. Most sequences are loops, some even half loops, where an animation moves forward and then backward with exactly the same motion. By only loading the frames we need, and reversing the playback halfway through, we save huge chunks of data.
Why this didn’t work
Early tests were promising, the file sizes were low and plotting these sprites on the canvas was really straightforward. However, after further stress testing our approach by adding hundreds of animated sprites, we found that it would bring even the most powerful computers to its knees. Besides, even a couple of them would slow down mobile devices.
Investigating the performance problem, we uncovered that the biggest issue was the size of a sprite sheet in video memory. For example, when having an animation with about 20/30 frames, in other words 2-3 seconds of animation at 12fps, we would end up with huge pixel sizes. Sometimes even exceeding 32000 x 32000 pixels. The problem is that these sprites are also huge in video memory, despite their small file size over the network.
We soon realized that it had no use to optimize any further. There is no way we could get this approach working with the limited time that we had.
🇳🇱 👋 Hey Dutchies!
Even tussendoor... we zoeken nieuwe Q'ers!
What led to the final solution
Eventually we asked ourselves, why not look at rendering videos? The artwork is one piece, but it is also split up in five sections each telling one story. Can we not create five videos, each containing a separate story, and stitch them together on the canvas? Videos often use hardware decoding and therefore do not require huge amounts of memory. Videos also allow to keep the initial bandwidth low, because video elements in modern browsers support streaming video out of the box.
But choosing video also introduced some challenges. Would it be possible to render the videos in the canvas so we could re-use our already created camera system? How were we going to create the videos from the artwork? And would we be able to create a parallax effect by using transparent videos
Let’s start with supporting transparency on the web. The only video codec options we have are VP8 or VP9 in a webm container, and Apple’s HEVC coded in a mov or mp4 container. This is actually fine because combining VP9 and HEVC covers all modern browsers on all devices. The HEVC codec is required for iOS and MacOS Safari support. For all other browsers there’s the VP9 codec. You can specify the codecs in the type property of the source html tag to tell your browser which codec is included inside the WEBM/MOV container. This information is automatically used to select the appropriate format instead of having to download metadata and finding out the file is not supported.
<source src="https://cdn.wtfff.nl/assets/videos/example/1440.mov" type="video/mp4; codecs=hvc1">The designers animated the artwork in After Effects. We asked them to export the relevant animated parts of a story as a PNG sequence. We used the popular FFMPEG package to combine the PNG sequences into a video. This is the commands we use with a nice balance between quality and file-size for VP9 and HEVC videos:
ffmpeg -r 12 -f image2 -i ./input_0%04d.png -vcodec libvpx-vp9 -crf 24 -b:v 200M -pix_fmt yuva420p -auto-alt-ref 0 -vf scale=1440:-1 ./output_1440.webm

ffmpeg -r 12 -f image2 -i ./input_0%04d.png -c:v hevc_videotoolbox -allow_sw 1 -alpha_quality 0.5 -crf 40 -b:v 1m -vtag hvc1 -vf scale=1440:-1 ./output_1440.mov
Having working codecs with transparency support is great. But these video elements will not do us any good like this. We want to combine all the videos together in one big coherent interaction, preferably on our canvas from earlier. Luckily Canvas2D has APIs that allows us to pass in a HTML video element and it will pull out the current frame, plottable just like an image. This works great! But we’ve also run into some performance drawbacks. More on that later on.
In the end we found that using videos and Canvas are a really powerful combination, way faster and more efficient than using PNG or WebP sprite sheets. An added benefit is that all storyline animation is in sync with the audio and is easier to pause and play all at once. Along with that our subtitles are also always in sync with the video. For this we used the WebVTT subtitle standard.
Relief zoom
After creating a working, performant way of plotting stories on the HTML canvas, it was time to focus on the interaction. We really liked the idea of having easy controls using only one finger to move around and explore the stories. However, just moving or scrolling over the canvas doesn’t do the artwork much justice. We want to support zooming into the stories for getting a better look at all the details and animations. Pinching to zoom is nice but still not very immersive and we completely lose all control of what a user sees at which point in time.
We settled on something we call relief zoom. We plotted coordinates on the canvas with specific zoom levels. Using some quick math we can decide on the zoom level between every other point of the map while a user glides over the artwork. Because of this automatic zooming, moving over the canvas really feels like you are moving over a relief. But it was still missing something: velocity and inertia. That would make it a more performant and smooth experience. Giving a small but quick input should move the camera quickly and then slowly reduce the speed back to zero. Therefore we extended the camera system with some additional math calculating the location of the camera and changing the velocity according to the input.
When everything came together, it really started to feel like a complete product. With some more minor tweaks, making sure that stories are mostly visible on all device sizes, we were able to really polish the entire experience.
Performance
Although performance is a lot better than before, we did notice that some older devices struggled reaching a smooth 60 frames per second. We found that this has to do with the overhead required for fetching the current frame from the HTML video element and placing it at the appropriate spot on our canvas.
We definitely needed to reduce the amount of times this frame call is done. While the video only plays at 12fps, the canvas is updated way more often, at least 60 times a second. Each time the canvas updates, it would request a frame from the video element, even if the frame is still the same as before. Instead of tying the updates to the frame rate, we decoupled the video frame fetching from each update that the canvas does.
However, a HTML canvas doesn’t work with layers. You just tell it to draw a specific color on that specific location. It will stay there until you say it’s different, or when you clear the entire canvas. Contrary to what might seem logical, when we move the camera, we don’t actually move the camera itself. Instead we actually shift all pixels in the canvas. This means we have to know which pixel goes where and completely redraw the entire canvas at 60 frames per second, because we can’t tell the canvas to do it for us. It sounds like a complete waste of resources, but it actually is really easy for your computer to do.
This is an important concept to grasp, because this means that forgetting to set a new pixel color creates weird artifacts or flickering. Because we only know the current color of the HTML video frame at 12 frames per second, there is a mismatch with the smooth 60 fps. It means that we don’t know what to draw all the other 48 frames, resulting in seeing the video flicker when moving and updating all the pixels.
We need to have a way to remember what the video frame looks like the other 48 frames. Doing this in the normal memory is not very efficient. Because we still have to send this data to the GPU every time. And this data is not directly compatible so your CPU would have to translate the image to be compatible. However, we do have a handy dandy javascript API available to us specifically for creating textures in video memory for use on a canvas. This is called an ImageBitmap and is easy to create using `createImageBitmap`.
const frameRate = 12;
const interval = setInterval(() => {
 if (video.readyState < 2) {
   return;
 }

 if ((video.paused || video.ended) && videoFrame !== null) {
   return;
 }

 generateCachedVideoFrame(video) // where video is our HTMLVideoElement
   .then((frame) => {
     const oldFrame = videoFrame;
     videoFrame = frame;
     if (oldFrame instanceof ImageBitmap) {
       oldFrame.close();
     }
   })
}, 1000 / frameRate)

function generateCachedVideoFrame(
 video
) {
 if ("createImageBitmap" in window) {
   try {
     return createImageBitmap(video);
   } catch (err) {}
 }

 return video;
}
This solution might sound complicated at first, and not very performant at all. But it means that your GPU has all the resources it needs right on time, and your CPU doesn’t have to do any work converting all these video frames every tenth of a second.
Technology at the service of the bigger story
Just like in our other recent project, the online monument for the National Remembrance 15 August 1945, with wtfff.nl we really tried to create a compelling web experience. The challenge of depicting such a loaded topic as sexual abuse led to a technical solution with complex animations while still maintaining the overall performance. We really pushed ourselves to do justice to the illustration and the gripping stories of the youngsters.
Since it went live in early 2022, many tens of thousands of people have visited the website. With this platform we hope to prevent new victims of sexual abuse while raising awareness for the dark side of the web. Like Myriam, one of the main characters on WTFFF!?, put it:
There should be more initiatives like WTFFF!? You don't go looking for help yourself. Help has to come to you in some way. In a way that appeals.
Do you also like technical challenges? Check our job vacancies (in Dutch) at werkenbij.q42.nl!